Wood Prep: The Foundation of Every Intarsia Project
- Bradley Eklund
- Jun 21, 2024
- 4 min read


Embarking on a woodworking journey can be immensely rewarding, but before you dive into the craft, it’s essential to master the art of selecting and preparing wood. Properly preparing wood lays the foundation for successful and satisfying projects. In this guide, we’ll explore everything beginners need to know about material prep for intarsia woodworking projects. We will be following the preparation process with our T-rex Skull pattern which you can find on our pattern shop.
Step 1: Pattern Preparation

One of the very first things you need to do is what we call pattern prep. Many patterns from other designers require you to make multiple copies of the pattern (typically one copy for each color of wood). If your pattern calls for this, make all the copies you need. Label each set of copies according to the color, so you don’t accidentally cut out the wrong part. All our patterns come with an additional segmented pattern page which lets you skip making numerous copies saving time, paper, and ink! Check out our Guide for Printing Scroll Saw Patterns for some useful tips. After all the pattern pieces are cut out and sorted by color you will have a good idea of what material you may need which will bring us to the next step.

Step 2: Material Selection
One of the things I really like about scroll saw woodworking is the flexibility of usable wood. Cracks and knots are easy to avoid. Thin boards can be used in some cases with the help of risers. Scrap wood is an intarsia artist's best friend! I have a HUGE amount of labeled boxes of scrap wood I regularly dig into for all kinds of projects. Warped boards are best avoided but, cutting small segments is manageable for slightly warped material. If you do choose to use warped boards, only do so for small segments and be mindful that the rocking and vibration of the wood can impact the cutting resulting in a wider kerf and possibly an angled cut.
When sourcing material there are a few things to keep in mind. Intarsia often uses a large variety of wood types, including many exotics. This can get expensive VERY FAST. You can save a lot of money buying lumber rough cut. You would have to plane the top and bottom flat though, which means another tool is required, but worth it in the long run. If you don’t have access to a planer, you could still save a little cash by purchasing S2S lumber. S2S refers to a board with the top and bottom smoothed and the sides still rough. The sides can be left rough or live edge which is another perk of cutting on a scroll saw. You can use S4S (4 smoothed surfaces), but you will be paying more for less wood.
After you have selected the wood for your project, give it a good look over for any interesting grain you may want to take advantage of or any defects you may want to avoid. Check the top AND bottom to avoid unwanted surprises.
Step 3: Pattern Placement

There are several different methods that intarsia artists use to attach patterns to boards. I’ve seen people use carbon transfer paper, to glue sticks, to printing the pattern on an 8.5” by 11” sticker sheet. There is no wrong way if it works for you. We have been using our tried and true process for well over a decade. Before you begin placing patterns on boards, I want to highlight the importance of grain orientation. While it can work out ok to just stick patterns whichever way it fits on a board, taking a little extra time to thoughtfully place segments with the grain in mind can make a significant improvement to your overall project. Our patterns include suggested grain direction, but of course this is just a guide and may need to be adjusted to the actual wood your using.
Once you're happy with the pattern layout, take a quick photo with your phone for a reference. Remove the pattern and cover the entire section of the board with blue painter’s tape. You can use other kinds of tape but the painters tape is the easiest to work with. If you need to see the grain while placing the pattern, use some clear packaging tape. Just be mindful that most clear tape will leave behind sticky residue when removed and can sometimes peel off small fibers of wood.
If you’re wondering why you need a layer of tape, that is a very common question for beginners. I was very puzzled by this when I first started scroll saw woodworking. The layer of tape does two things. It helps to reduce the likelihood of wood burning while cutting. The heat of the blade from cutting melts the tape and creates a cooling lubricant. The tape layer also provides a way to quickly remove the pattern once cutting is done. You could attach the pattern directly to the wood, but removing it by peeling or sanding can take you a long time.
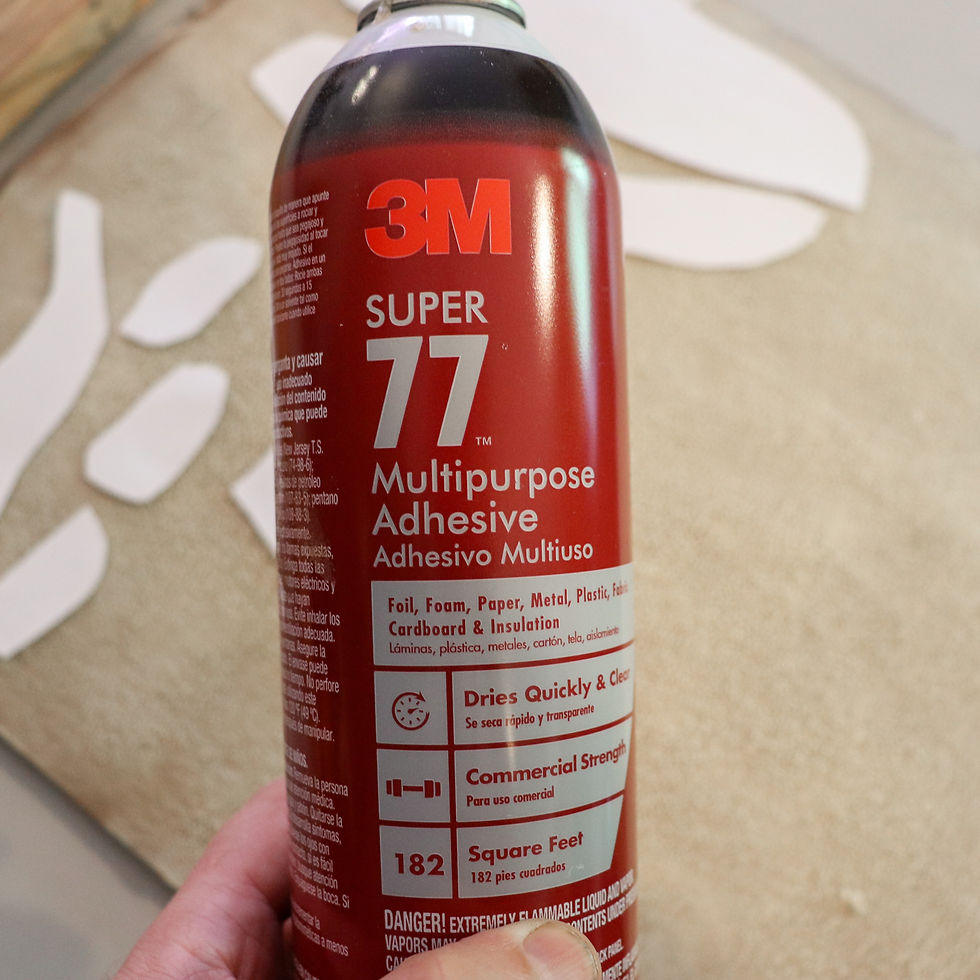
After taping the board, place the pattern segments upside down on a large sheet of cardboard. Use an adhesive spray and give the pattern a light coating. I’ve tried many different types and brands of adhesive sprays for this, and the 3M Super 77 spray is by far the best. Once the pattern is adhered, that is the last step before the real fun begins. Cutting! We will be saving those details for a future blog post.

Board prep and pattern placement are the first building blocks for successful results. It’s thrilling when you finally find that perfect board for a project you have been wanting to do forever. Laying out the pattern on boards brings your thoughts to focus and by the time it’s adhered to the board, there is no time to waste! It's time to start cutting! I hope this helped new comers to intarsia become more comfortable on how to get started. Just remember, properly prepared projects can mean the difference between an ok result and a masterpiece!
We hope you enjoyed this blogpost. Please consider following our blog to catch future posts. In case you didn't know, we also have a "Pattern Subscription" plan with a growing number of free patterns included. It is a great value that continues to grow! Be sure to share your pictures on Facebook and tag @EntwoodQuest! Now, go make some sawdust!


Comments