Wood Bleach: A Game-Changer for Intarsia
- Bradley Eklund
- Nov 13, 2024
- 4 min read

With more than a decade of creating intarsia art under our belts, we know how challenging it can be to achieve consistent colors, especially with white. Certain woods, like maple, can have a yellowish tint that doesn’t work for every project. Holly is another fantastic option, offering a great white, but it can be grey if not harvested in winter. And while many other woods appear “white,” they often have subtle, off-white shades that don't quite match our vision.
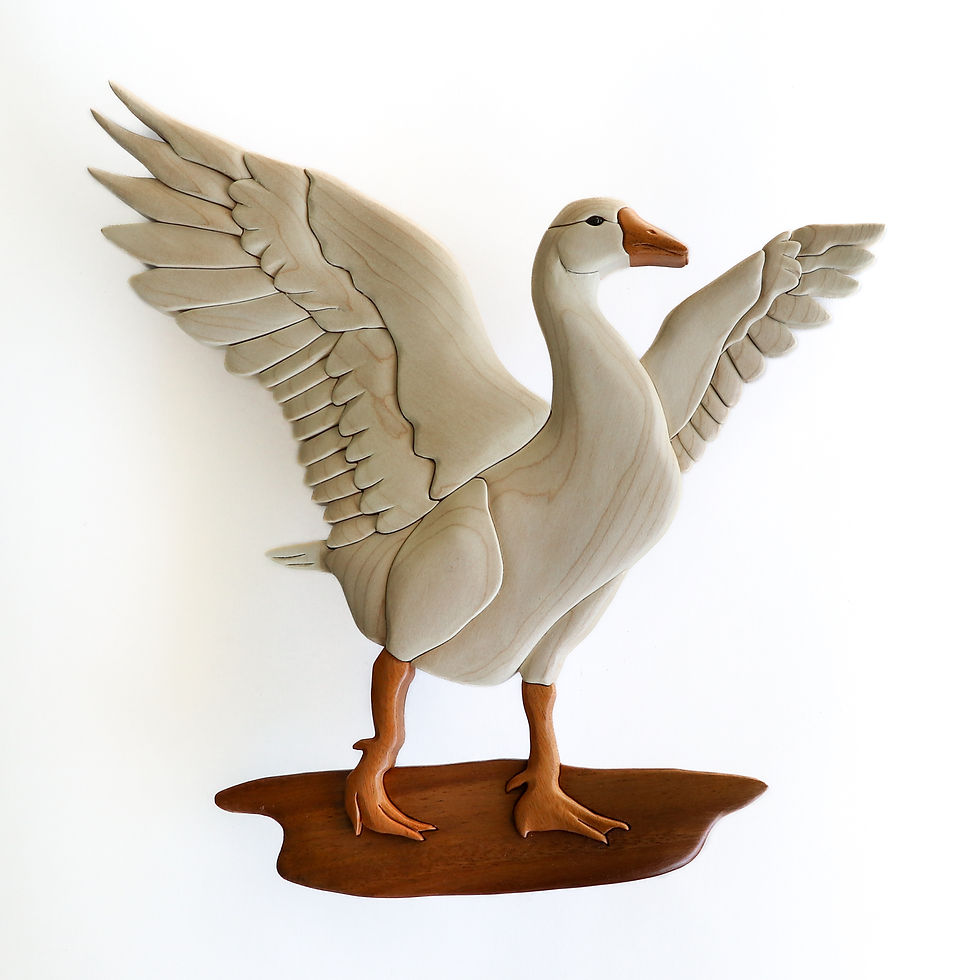
A few months ago, we stumbled upon something that completely changed the game for us: two-part wood bleach. It’s a product mostly used in restorative woodworking, but it turned out to be the perfect solution for achieving a natural looking white in our intarsia pieces. Trying it in our work was a revelation—the results were incredible! Applying this technique allowed us to eliminate unwanted tints and get the clean, vivid whites we had been searching for all these years. If you’re looking for a way to achieve a natural looking white in your intarsia woodworking, two-part wood bleach might just be the answer you're looking for.

Not all Bleach is the Same
Before getting into how to use 2-part wood bleach, I wanted to mention that there are several different types of wood bleach out there. The type that we will be going over is Zinsser wood bleach. Part A and is compromised of sodium hydroxide (aka lye), and part B is 30% concentrate hydrogen peroxide. I recently discovered that Zinsser has discontinued this product, but other 2-part bleach brands should work the same if the solution contents are the same. I've only used Zinsser brand so I can't vouch for any other at this time. Hopefully Zinsser they will bring theirs back soon because it works great!
So how does the bleach work? Get ready for some science! Part A preps the wood for the real change. It opens up the wood pores (which can raise the grain a lot!) and begins to degrade the natural pigments in the wood (tannins) by creating an alkaline environment. Part B is a powerful oxidizing agent that does the bleaching work. When applied, it reacts to the alkalinity from part A and oxidizes the organic compounds resulting in a much lighter color.
Bleach Tests
Below, we tested out a number of different wood types to see how the bleaching may affect the color. The top is no bleach at all. The middle is 1 coat of solution. The bottom has 2 coats of bleach. Since the color can change after its lacquer is applied, we wanted to see what the differences may be. The left side is natural wood and the right side is lacquered after the bleaching. We tested the Peruvian walnut just to see how much lighter it could get. The most extreme difference was with the maple and red cedar. Everything definitely became lighter with the second coat of bleach.
Steps to Bleach
Clean the wood of any dirt and/or dust. Wiping with a rag and denatured alcohol does the job.
You want to avoid any skin contact with both solutions so put on some gloves and safety goggles.
Apply Part A solution to the entire surface of the wood you want whitened. We use a cotton rag to wipe on the solution. Wear gloves! Wait 5 to 10 minutes. At this stage, it gives the wood a slightly darker look, but don’t worry, that will change after the next step.
Apply Part B solution while the surface of the wood is still damp. Be sure to use a different rag for this step. As time passes, the wood will continue to lighten. Let dry over night and see the results.
If you still want a lighter finish, repeat steps 3 and 4.
Once happy with the color, wipe on some diluted white vinegar. This will stop the chemical reaction by neutralizing the pH and sets the color making it last longer.

A Few Notes
Be sure to test the bleach out on some scrap wood first! Since the wood continues to whiten over time, I suggest waiting at least 2 days before neutralizing it with vinegar. You also want the wood to be fully dry before any gluing. The white color doesn’t penetrate deeply into the wood so keep this in mind. You don't want to do any excessive sanding once the bleach is applied. This process can raise the grain a lot! If you're bleaching a wood prone to raised grain issues, it may be a good idea to pre-raise the grain and sand it smooth before bleaching. Smooth out any remaining raised grain after the second coat of lacquer. Just be careful not to over sand!

A More Natural Look
By and large, we avoid stains and dyes when possible. Many obscure and hide the natural beauty of the wood. I’ve tried out some white stains over the years and they always left a very unnatural look to the work. It looked painted which isn’t the look we aim for. Using the bleach, you’re not hiding anything at all, just making everything lighter. All the wood grain is perfectly visible, which is exactly the look we desire.
Wood color is a critical part of making intarsia with every choice making an impact. By incorporating wood bleach as a “color correction” tool, you add a useful option to enhance your projects. Bleaching is the best way to whiten wood while keeping a natural look. Once you try it, it will definitely become an essential part of your intarsia toolkit.
Let us know if you any remaining questions about using wood bleach. We hope you enjoyed reading this blogpost. If you're new to our blog, be sure to subscribe and check out our monthly "Pattern Subscription" plan. It's a great value giving access to a growing number of free patterns.


Comments